
Home Printer, Photo Lab or Kiosk: Where to Print Your Photos
There are three common ways to print a photo: on your own printer, through a photo lab (online or in a shop), or at a self-service kiosk. Each is better at different things. The right choice depends on how many prints you need, how soon, how large, and how much the colour matters. This guide compares them and lists what to check with each.
The short version
| Option | Best for | Watch out for |
|---|---|---|
| Home printer | A few prints right now; test prints; full control | Ink and paper cost per print; colour depends on paper and settings; margins |
| Photo lab | Many prints, large sizes, consistent colour, good paper | Waiting for delivery or collection; automatic cropping and correction |
| Self-service kiosk | Standard sizes the same day, often within minutes | Limited sizes and paper; fill-the-paper cropping; on-screen editing defaults |
Printing at home
A home photo printer is the quickest way to get a print in your hand and the only option where you control every setting. It is ideal for one-off prints and for test prints before you order a batch elsewhere.
- Use real photo paper and choose the matching paper type in the print settings. The printer lays down ink differently for photo paper, and the wrong setting gives dull, muddy prints.
- Print at 100% or "Actual size" when the size matters. "Fit to page" quietly shrinks everything.
- Know your printer's margins. Most home printers cannot print right to the edge in their normal mode. Borderless mode enlarges the image slightly to bleed off the edges, which trims the outside and changes the size.
- Turn off automatic enhancement if colours keep changing between prints, so you are judging your own file.
If you do not own a printer, the print dialog's Save as PDF option creates a file you can take to a print shop. Ask them to print it at 100% with no scaling.
Printing at a photo lab
Labs print on professional machines and paper, so colour is usually more consistent and prints last longer than typical home prints. They are the better choice for larger sizes, for many copies, and for anything you will frame.
- Upload the original, full-size file, not a copy from a chat app. See saving and sharing without losing quality.
- Read the crop preview. Most labs fill the paper by default, which trims photos whose shape does not match. Choose "fit" or crop the photo yourself first; see cropping for print sizes.
- Decide on correction. Many labs adjust brightness and colour automatically. That can help snapshots, but it can also undo careful edits. If you have edited the photo, look for an option to turn it off.
- Choose the finish. Glossy gives deeper blacks and stronger colour; matte or lustre reduces reflections and fingerprints and suits framed prints.
Printing at a kiosk
Self-service kiosks in shops and pharmacies print standard sizes quickly, which makes them handy for same-day needs. They usually offer a fixed set of sizes, such as 4 × 6, 5 × 7, and sometimes 8 × 10, on one or two paper types.
- Bring the photo on a phone or memory card in a format the kiosk accepts. JPEG is the safest choice.
- Check the on-screen crop for every photo before paying; kiosks fill the paper automatically.
- Watch for automatic "enhance" options that may be switched on by default.
- For a sheet laid out at an exact size, such as several copies of a photo, check that the kiosk prints it at 100% without enlarging or cropping, and measure a print before cutting.
Which one for which job?
- One photo for a card today: home printer or kiosk.
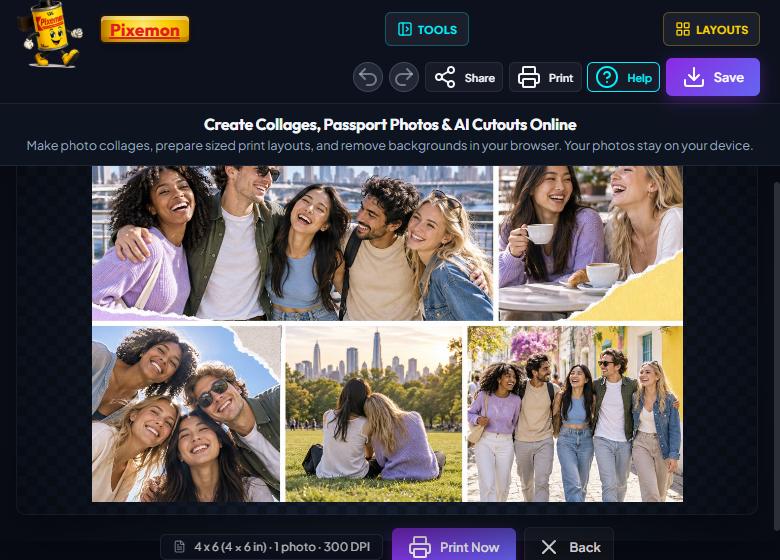
- A birthday or holiday collage for a frame: lab, ordered at the template's exact size, such as 8 × 10.
- Dozens of holiday photos: lab, usually the cheapest per print in quantity.
- A large poster: lab, after checking the photo has enough pixels for the size.
- Testing brightness before a big order: one home or kiosk print first. Prints often look darker than screens; see why prints look darker.
A note on ID and passport photos
Some authorities set rules about who may take and print official photos. Canada's printed passport application, for example, requires a commercial photographer and professional printing. Check the rules for your application before printing an ID photo yourself; our passport photo guide links to official sources.
Before any print: a checklist
- I am using the original photo, with enough pixels for the size (about 200 to 300 per inch).
- The photo is cropped to the paper's shape, or I have chosen fit or fill on purpose.
- I have decided whether automatic correction should be on or off.
- The paper size and type in the settings match the paper being used.
- For anything measured, the print is set to 100% and I will measure a test print.
Get your photo ready to print
Crop to the paper size, check the resolution, and print or save from Pixemon, all in your browser.
Open the Pixemon editorRelated guides: how many pixels a print needs and making a print-ready collage.